Day & Night Project
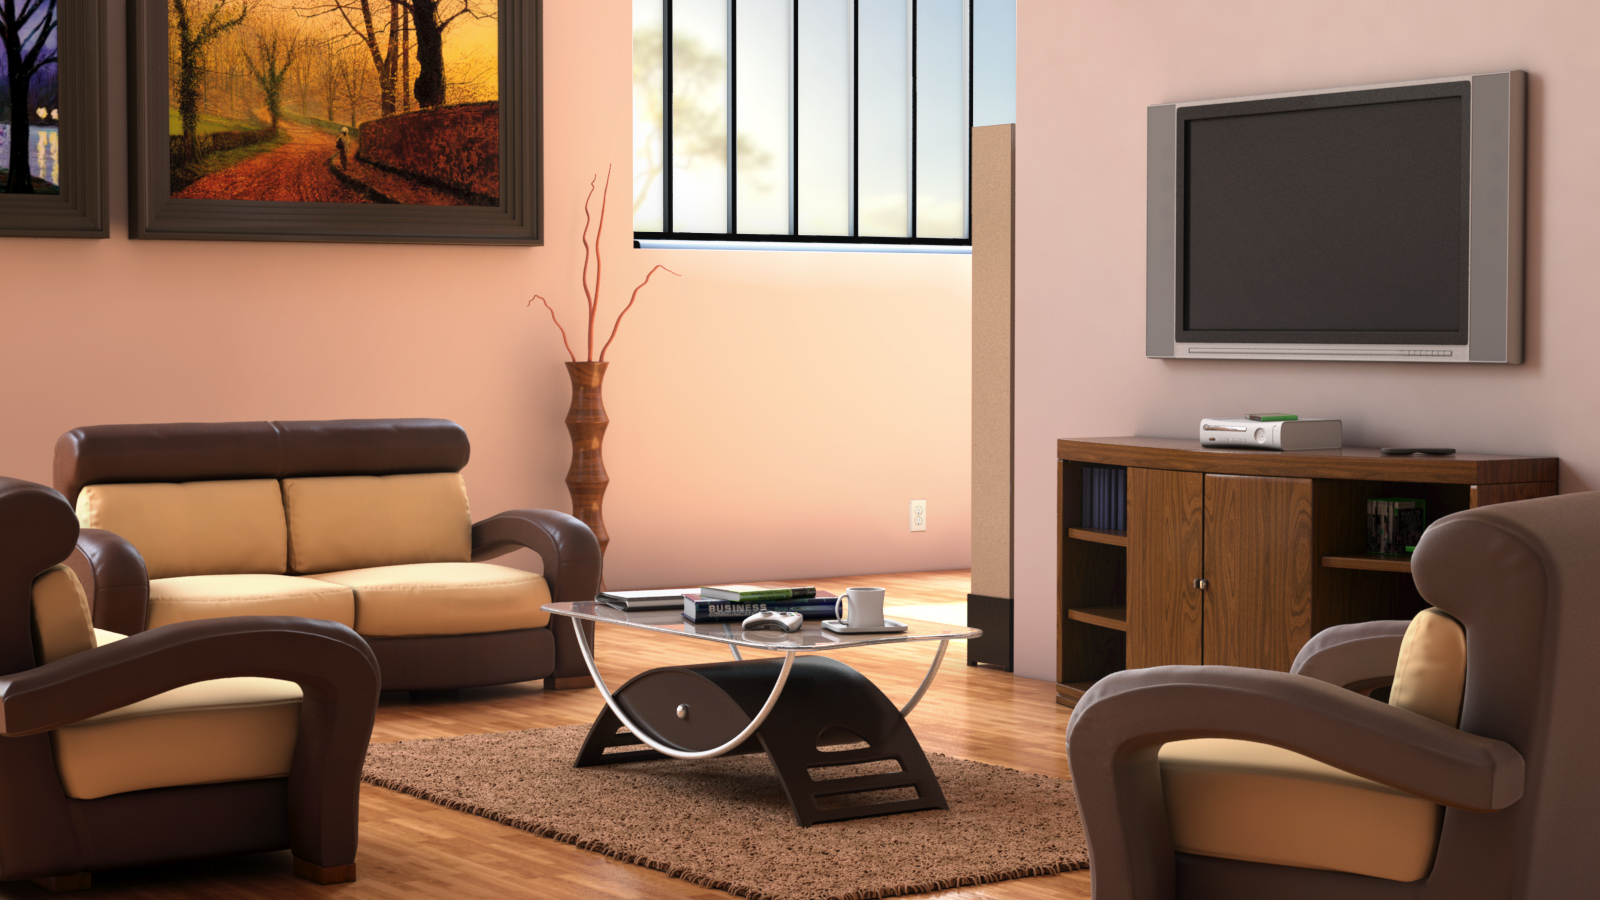
Final Comp Day
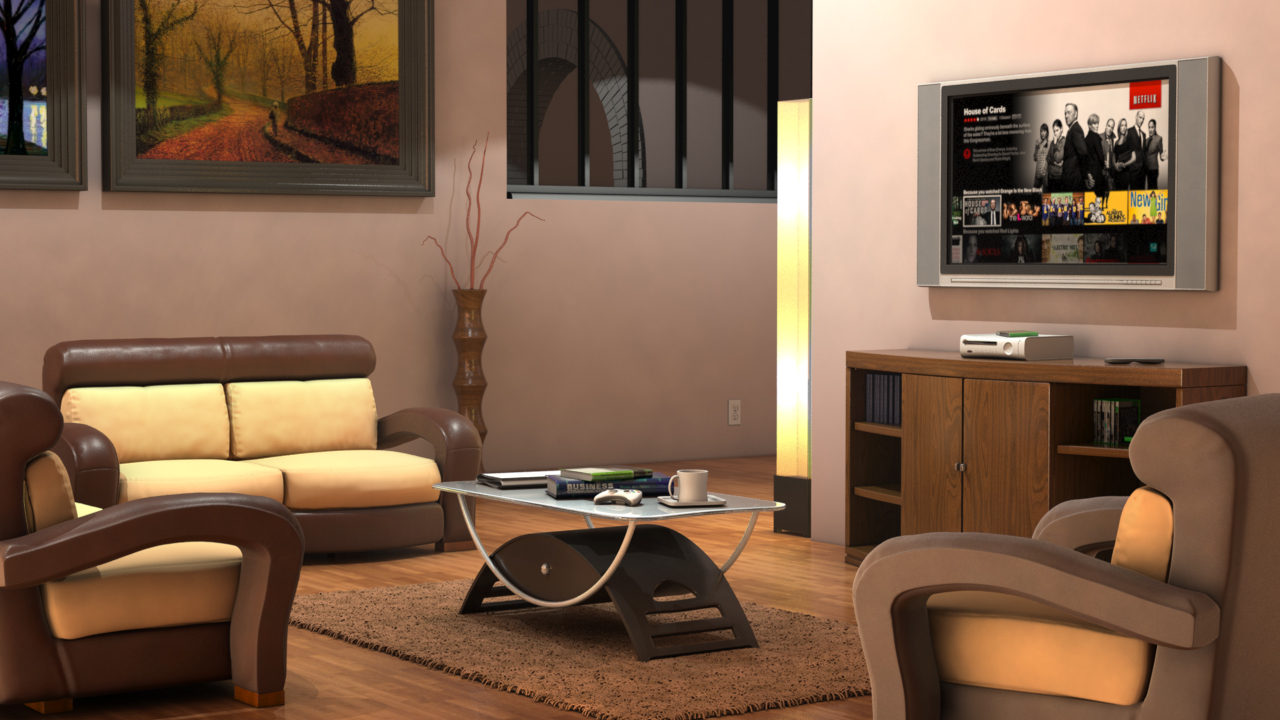
Final Comp Night
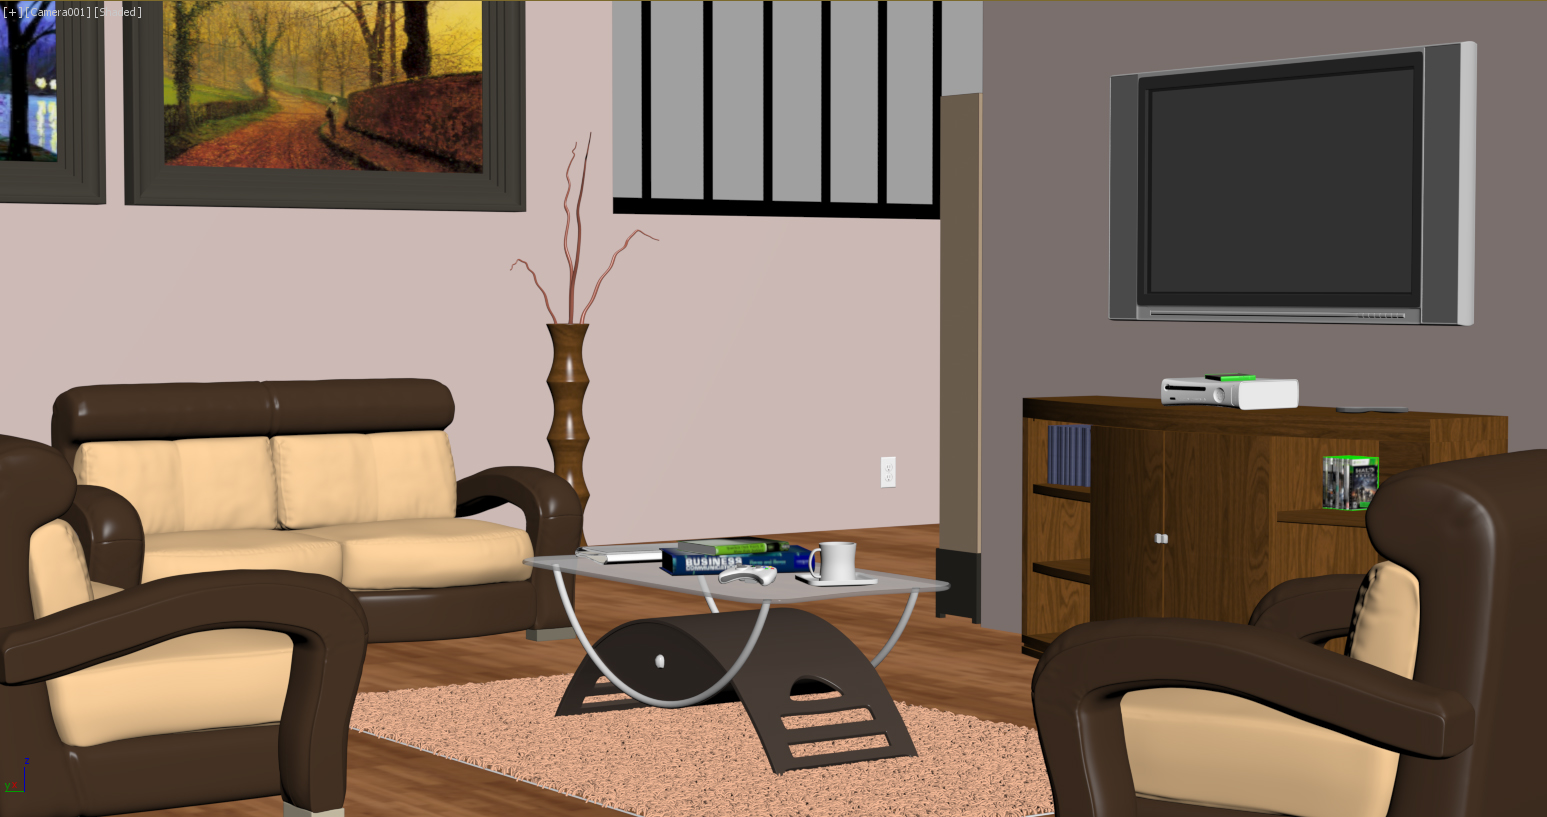
Progress
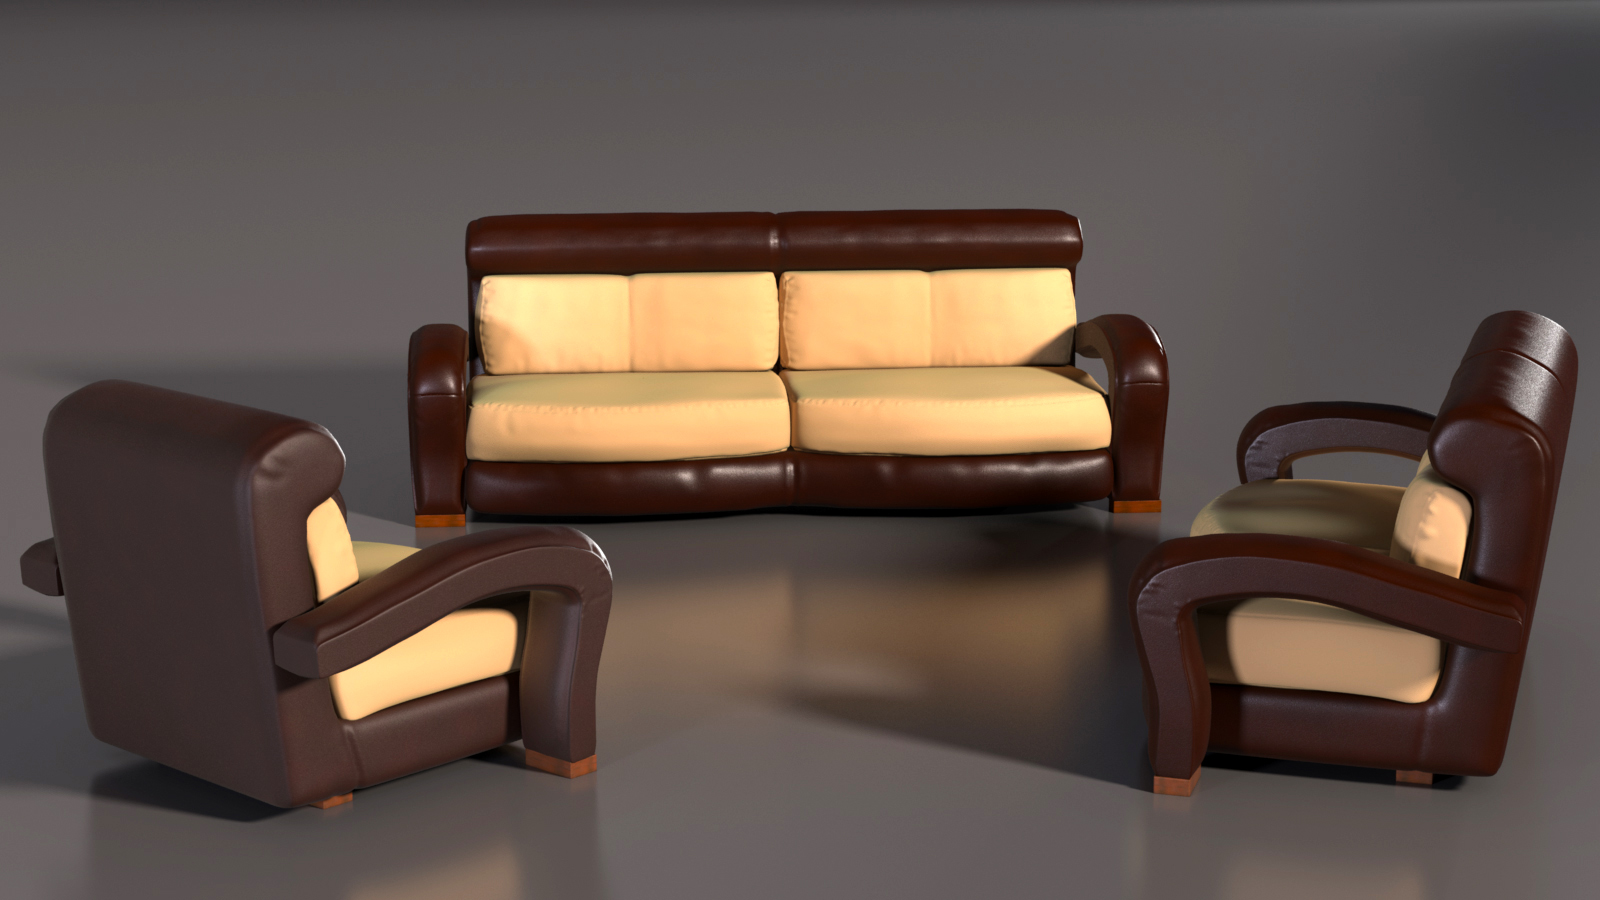
This project was much different, I was designing my own interiors and making my own furniture. For this, every asset was modeled to a room I’d actually love to live in. Here’s how it was done. For this project, I wanted to incorporate separate pieces into a combination for a nice living room setting. Instead of modeling according to reference, I instead used reference photos from different images. In order to keep the same kind of interior design, I used most of the pieces from one reference that were already a good interior design.
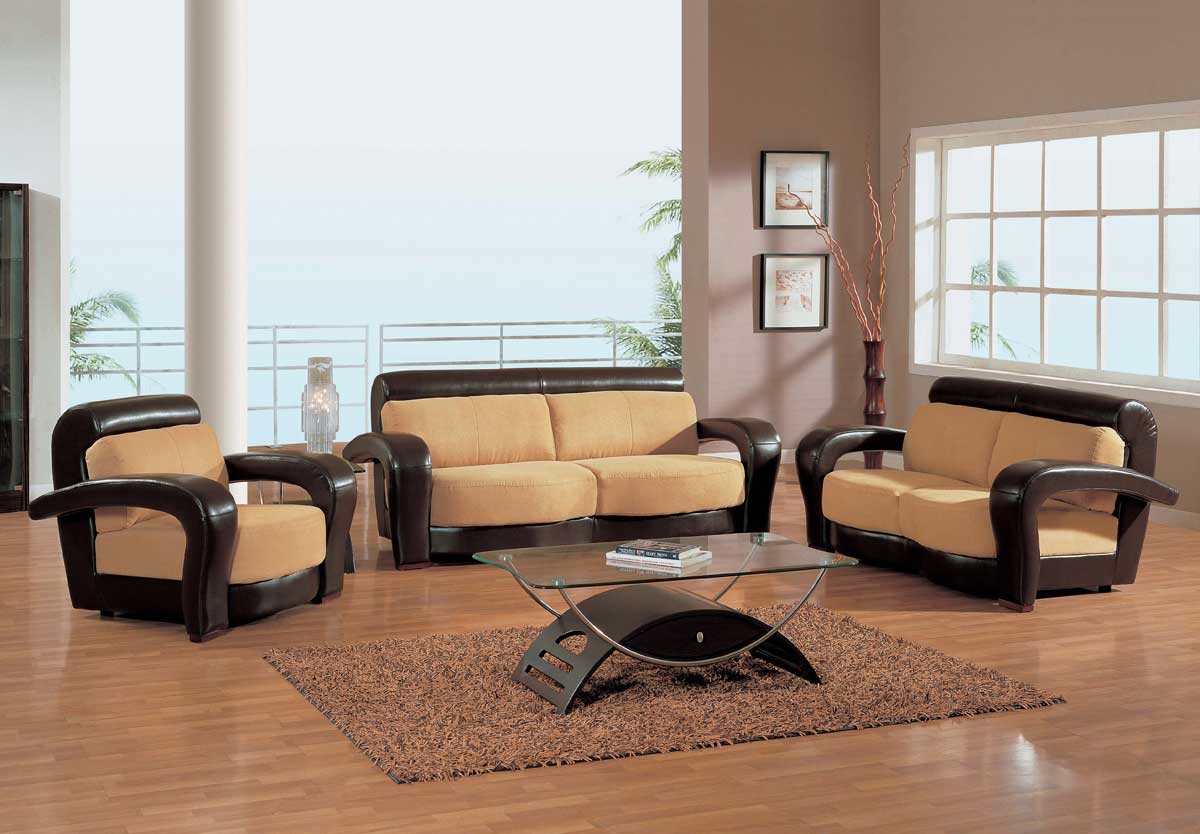
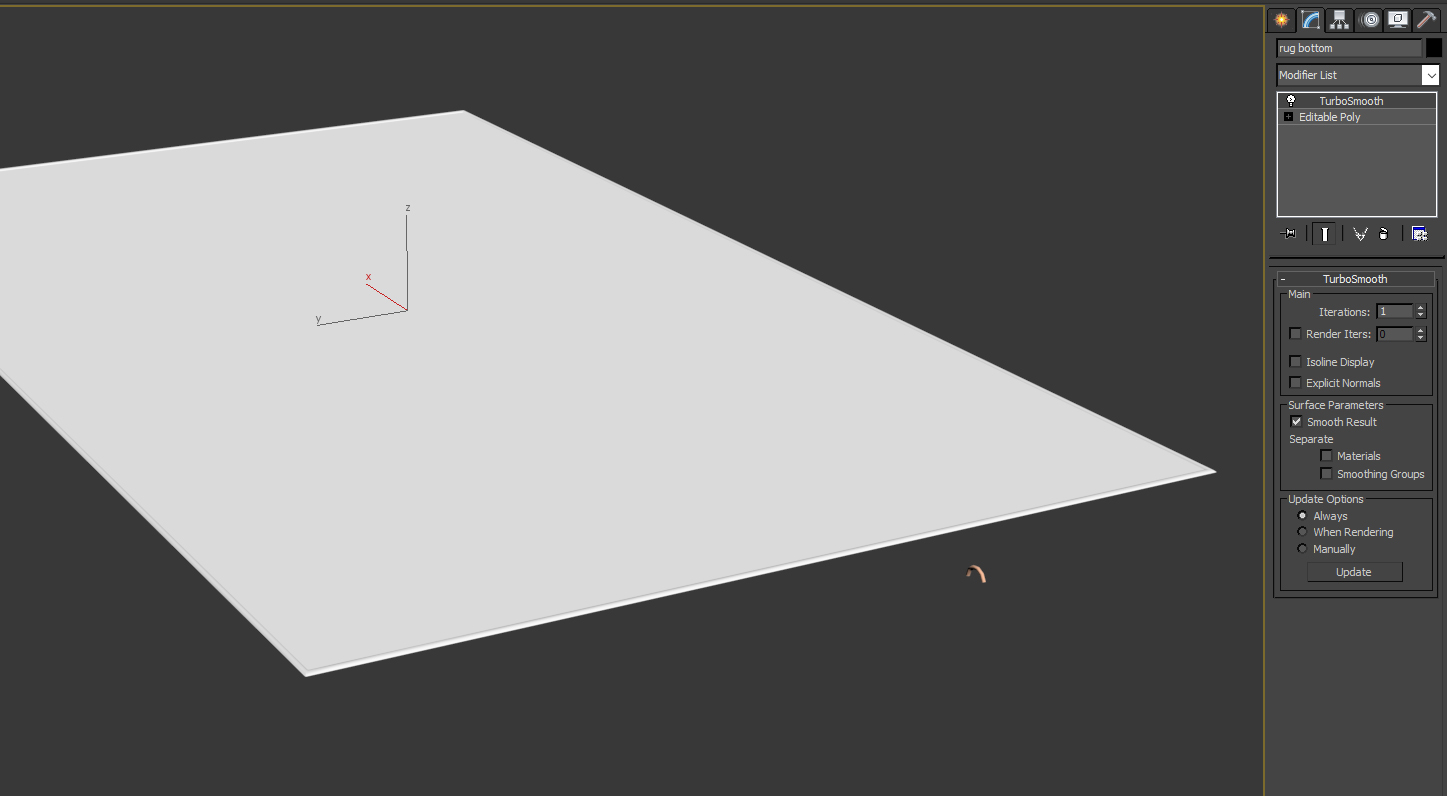
The rug itself in the image is a nice, shag rug.
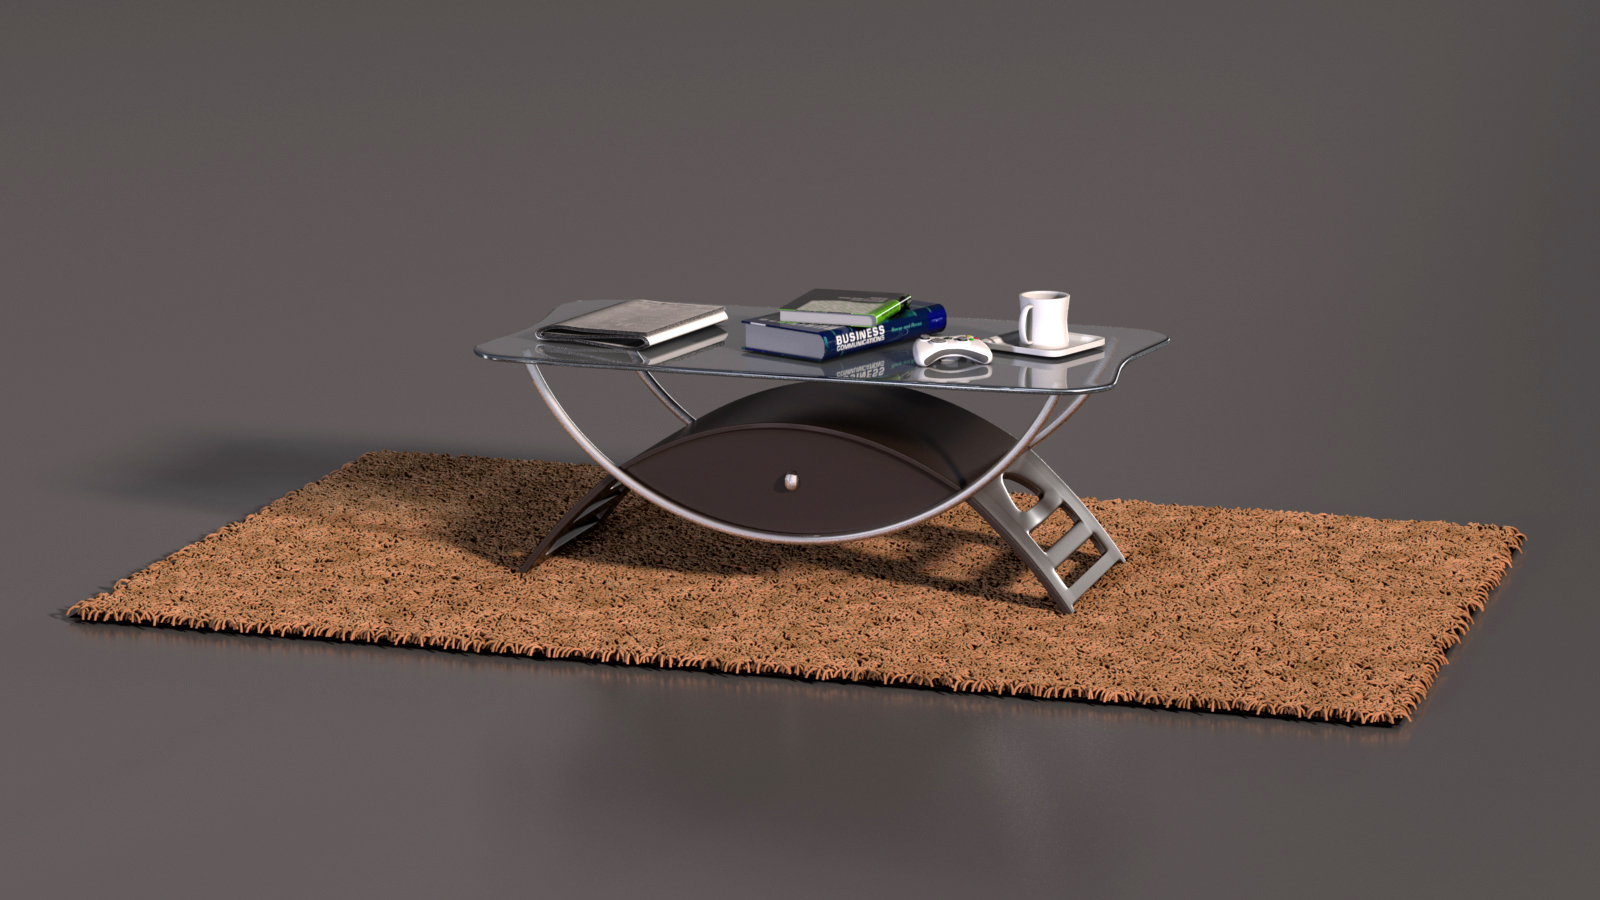
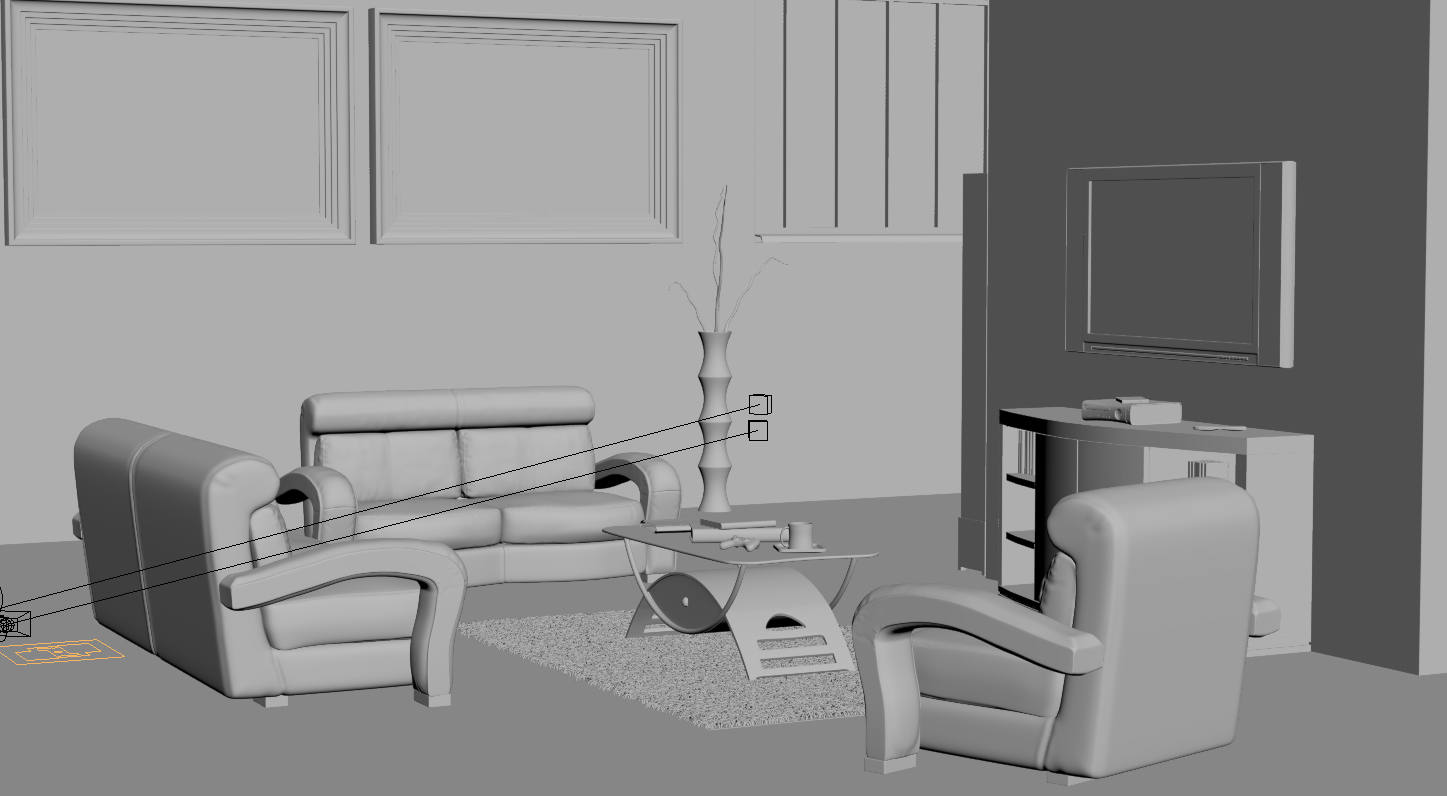
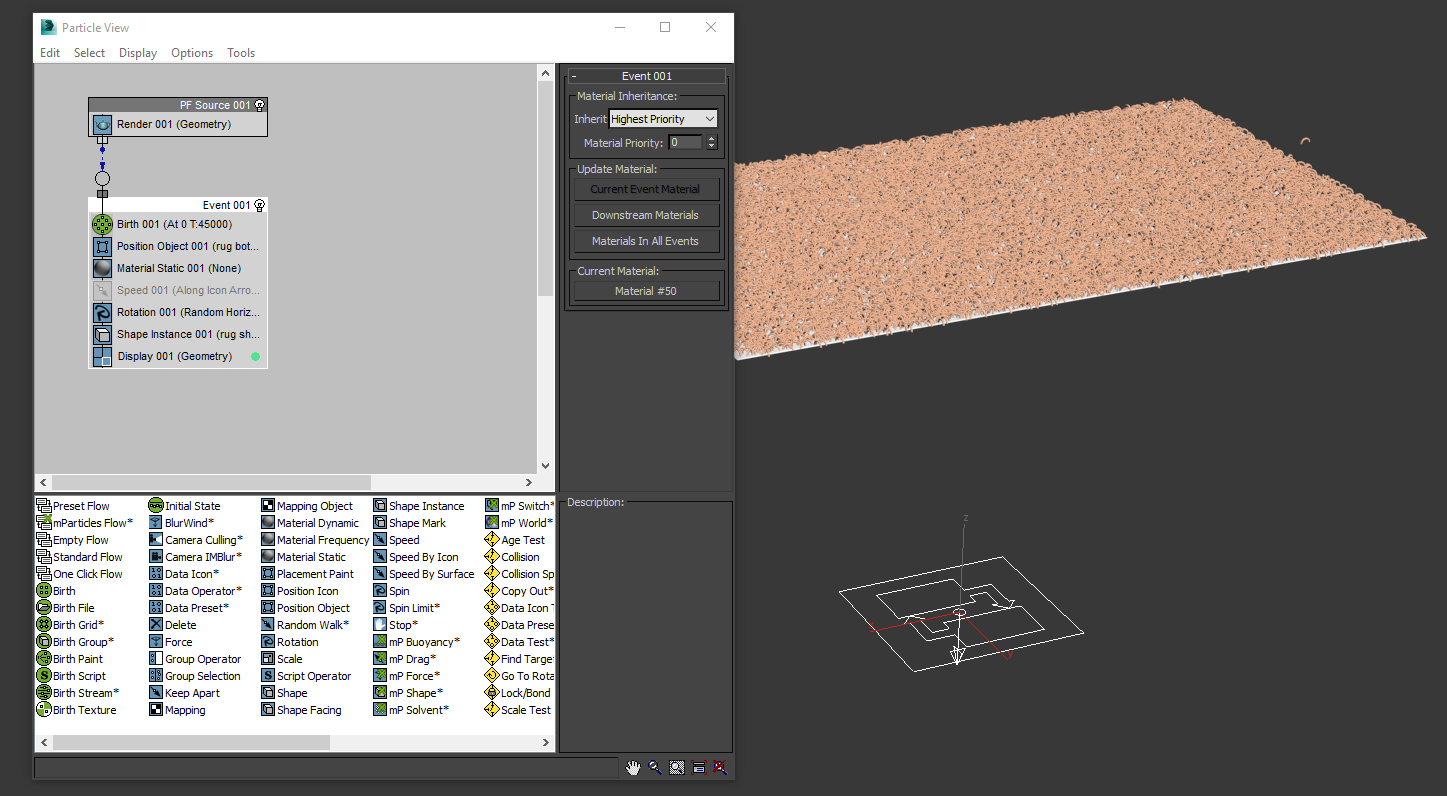
For this, I used a particle system that would instance each strand of the rug. I created a thread that would be used, and then added a bend modifier so the rug would look thick and lush with shag threads. The next point was to make a plane that would be the base for the thread.
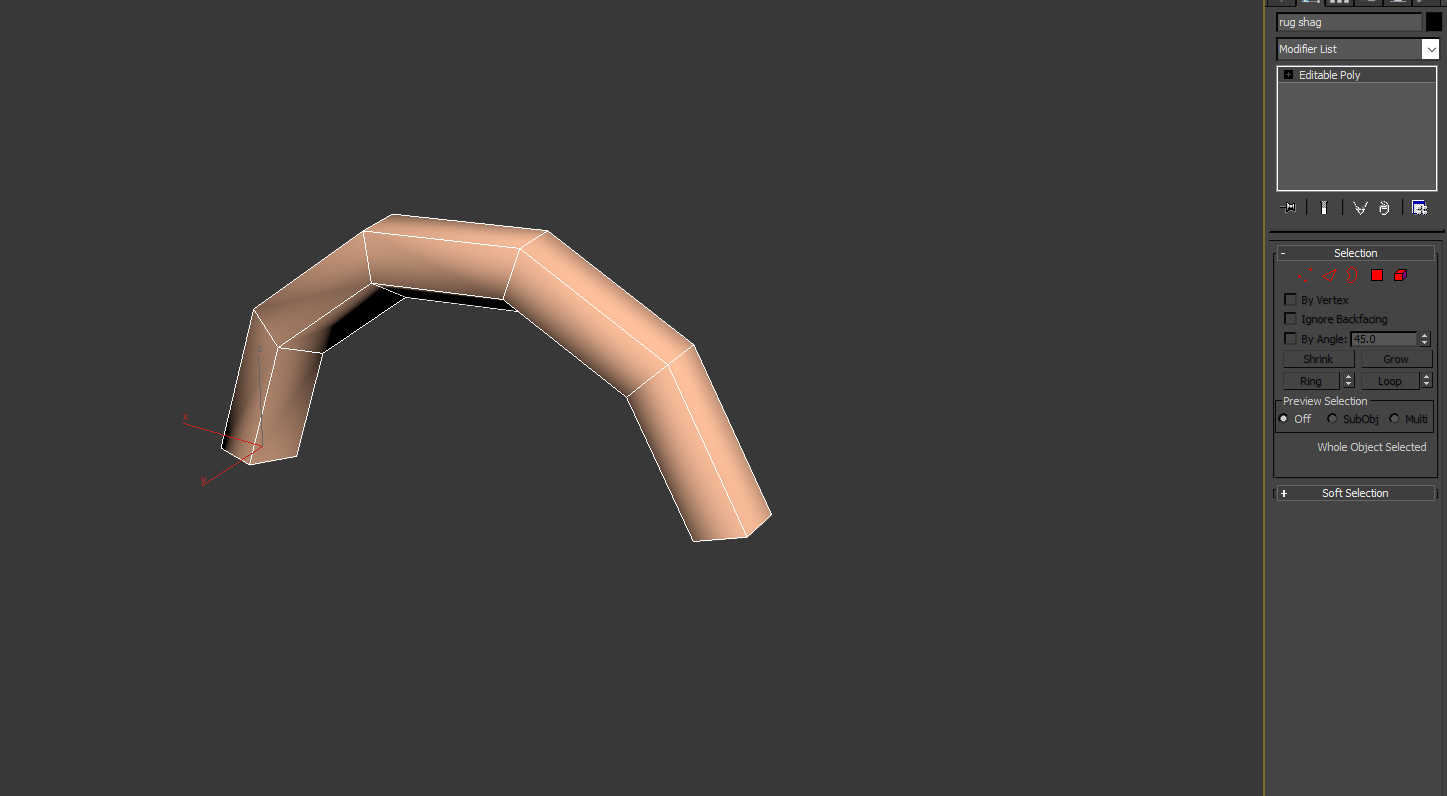
I created a PF source that would be used to instance my thread, and used the particle view to create my event. For this event, we make the Emit Start and Emit Stop to 0, since this will be a still image. I made my amount 45,000 threads. In Position Object, we add the thread in the Emitter Objects window. For the Rotation, I changed the Orientation Matrix to Random Horizontal in order for the threads to be randomized and not in one uniform direction. Once we assign the emitter to the inner faces of the rug, we will have a nice shag rug, with instanced threads.

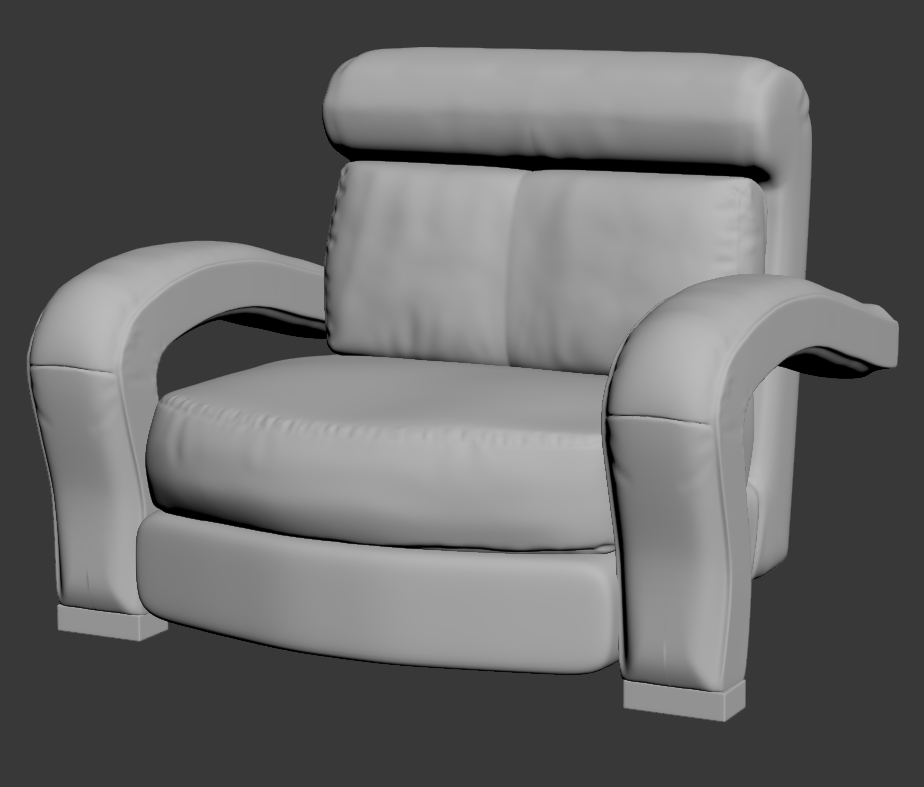
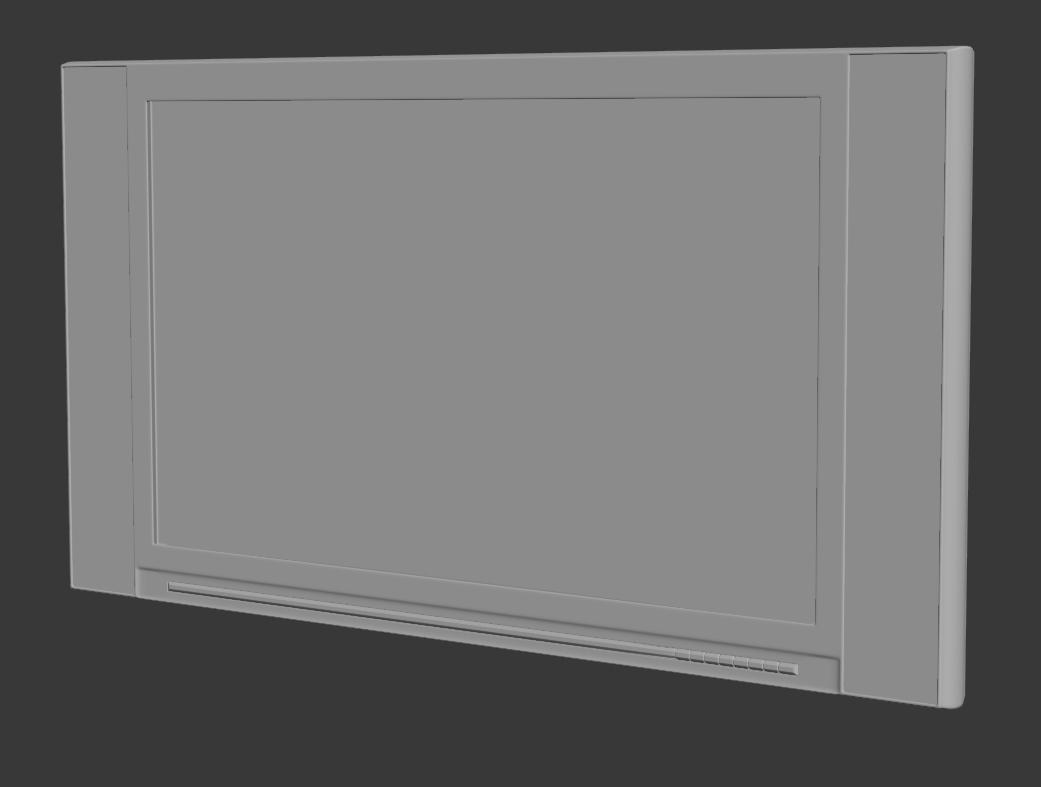
Like the Southlands project, I worked back and forth between 3D sculpting programs to make the couches. Since the other furniture is mainly a hard surface model. I used 3DS Max for the other pieces in the reference photo. I wanted to give this more of a 2013 look, so I used an older, flatscreen tv as the main entertainment center along with older gaming systems.
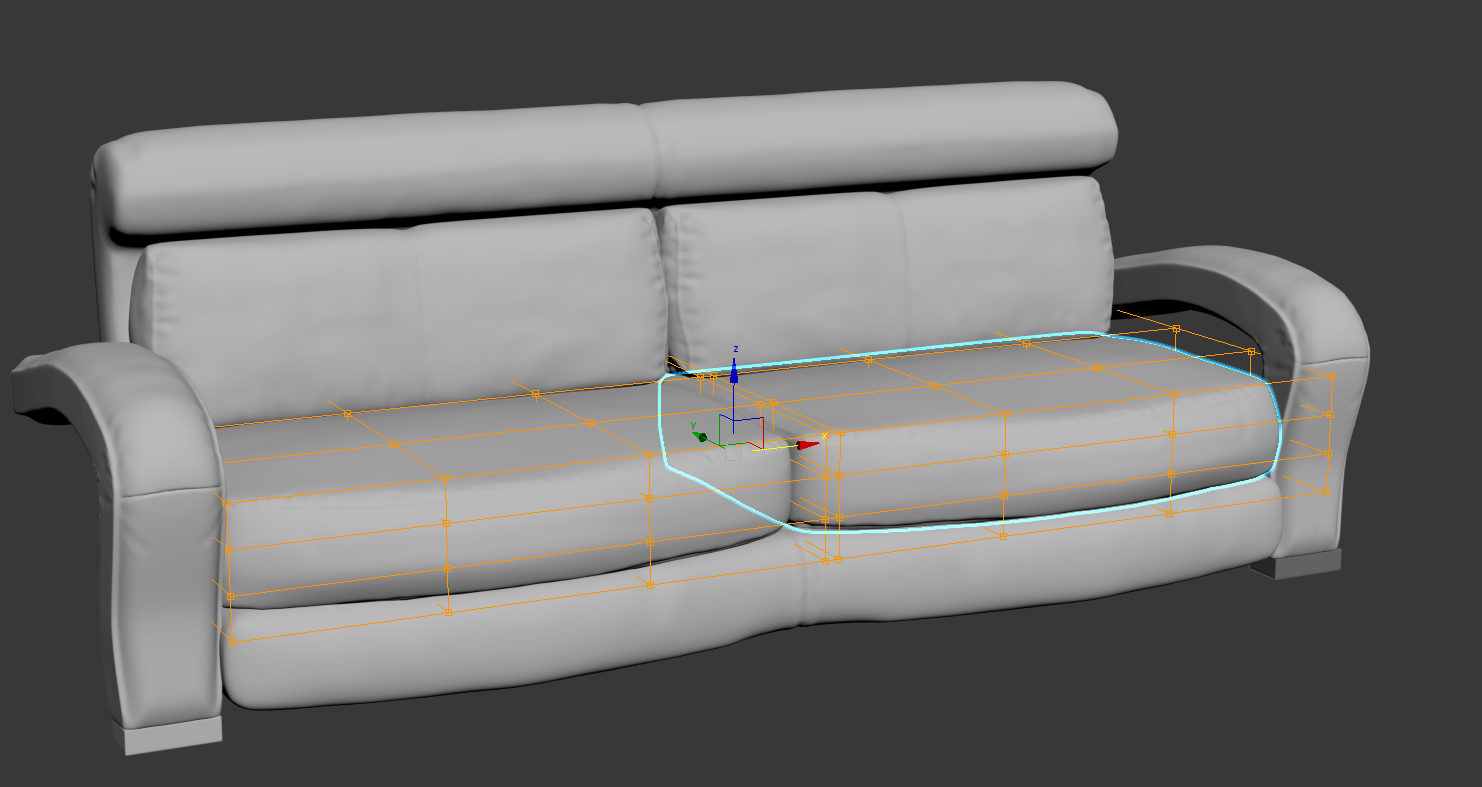
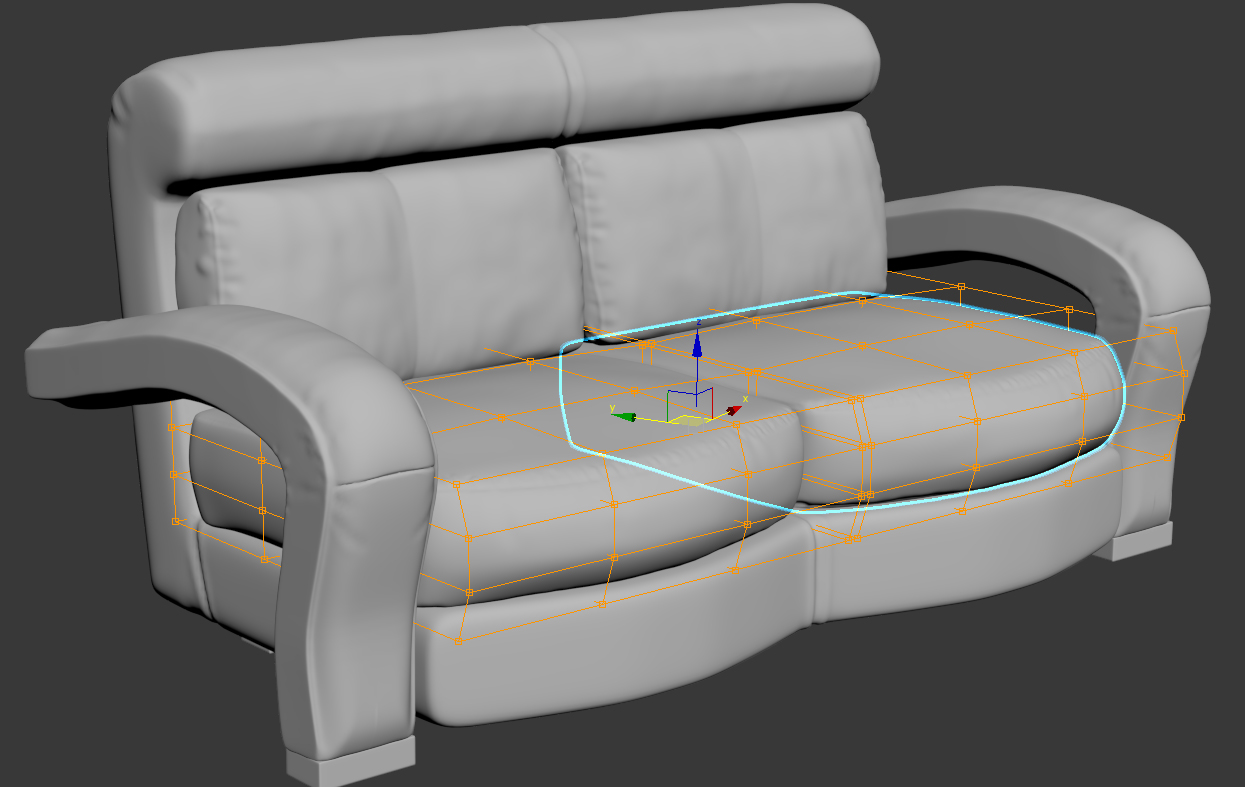
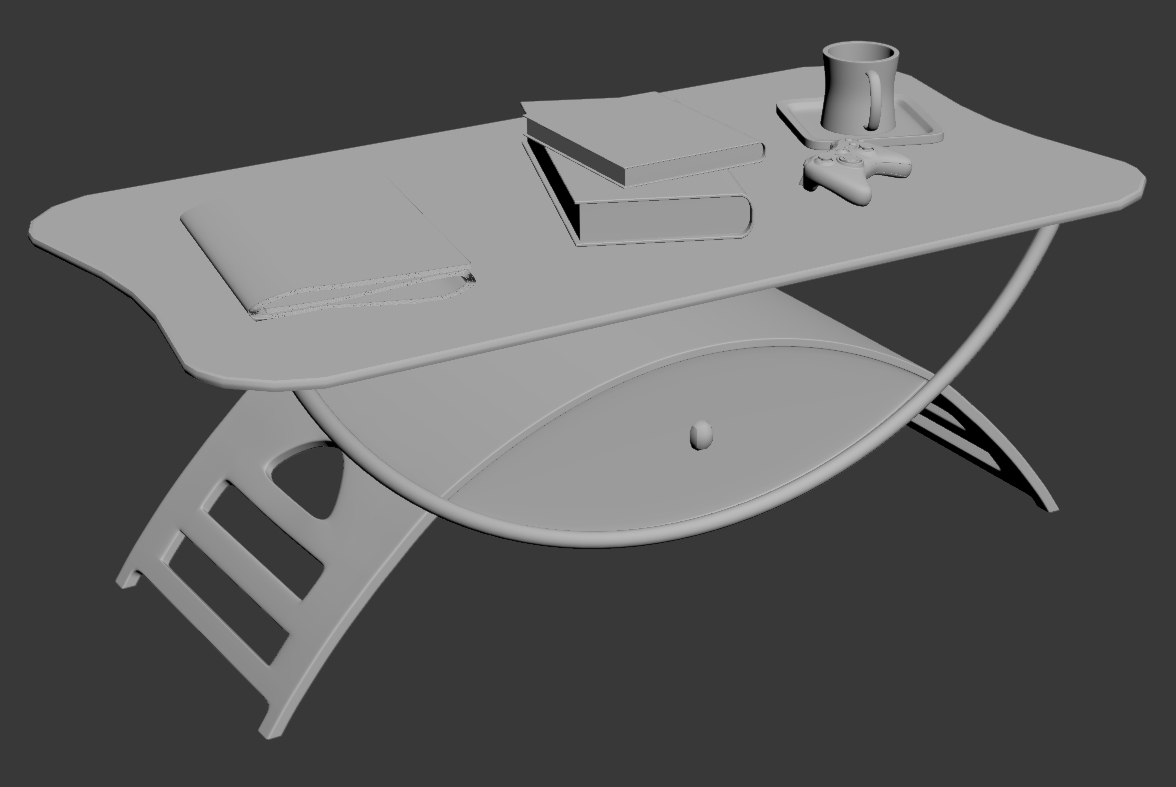
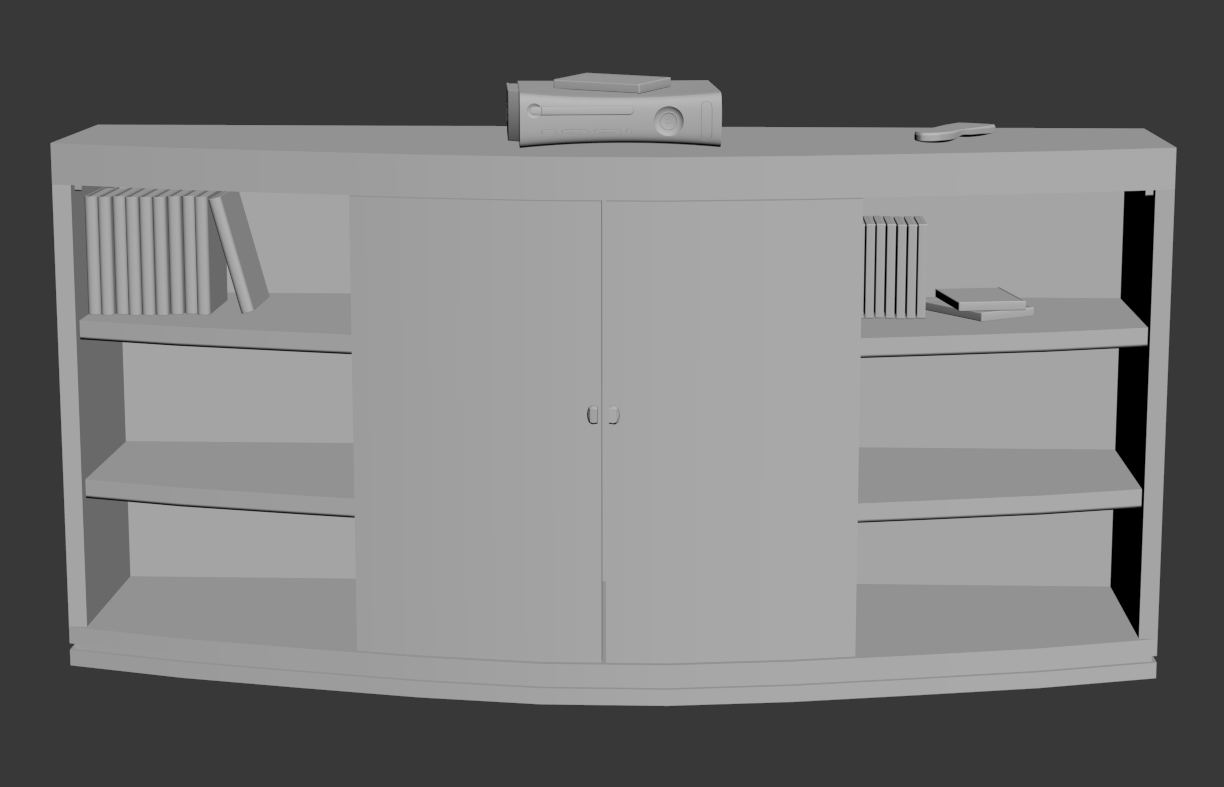
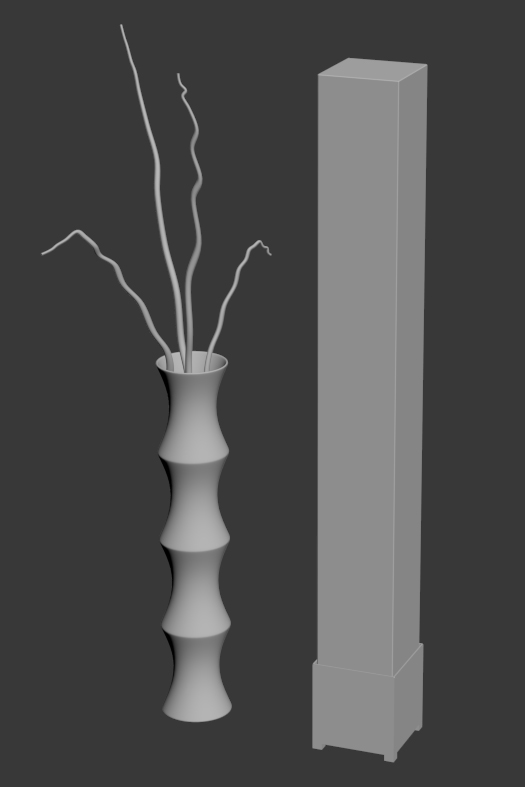
Since there was no television stand or television in the reference interior, I gathered reference images for the other pieces that I wanted to include in the scene, such as the lamp and paintings. With the smaller prop objects added, we have our scene. Using the reference images once again, I textured the pieces accordingly. After separate passes to pump the image’s realism, such as AO, ZDepth, and a Volumetric pass composited in Photoshop, we have our final piece.