Southlands Project
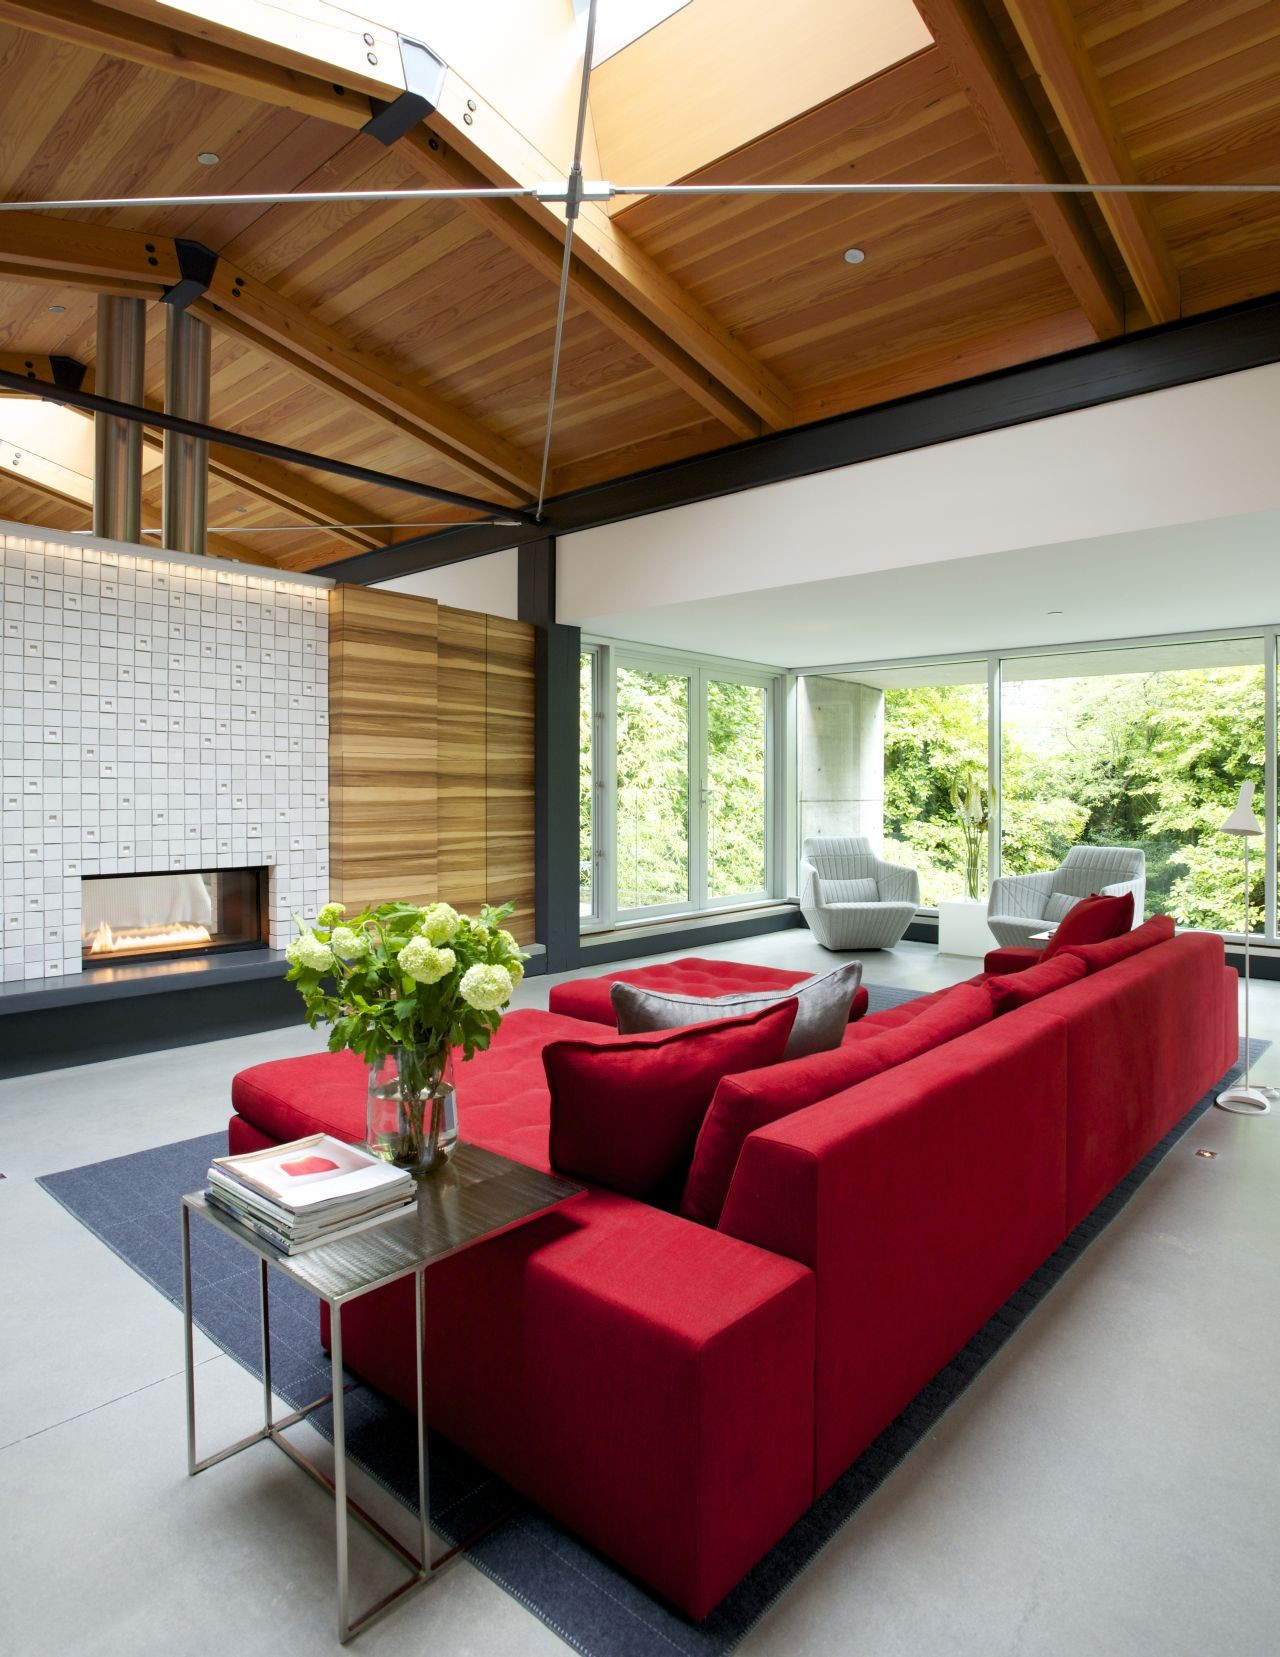
Final Comp
Progress
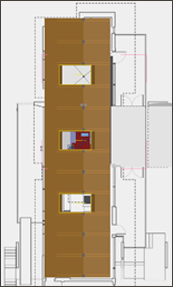
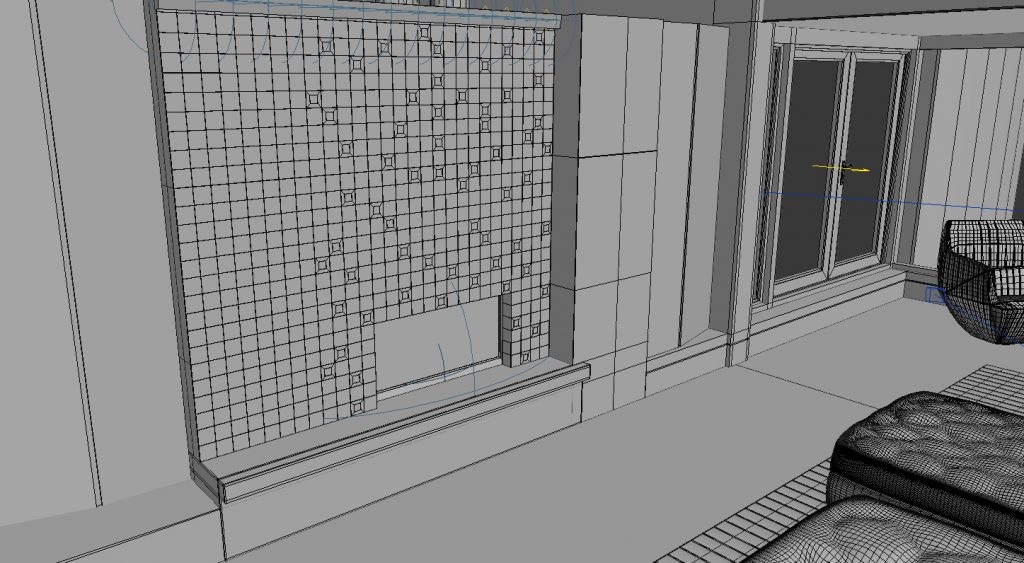
Using the drafting plans provided by the photographer’s site, I was able to add reference planes in my scene in order to correctly scale my pieces. There are no actual dimensions in the blueprints, but in blueprints, they use standard stoves and sinks for certain parts of the plan. 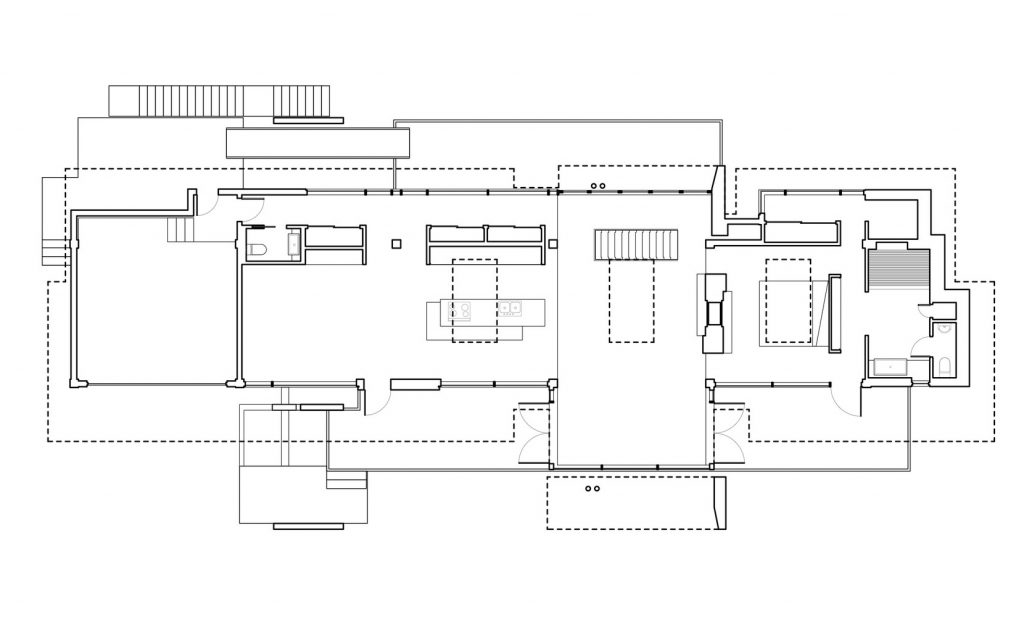
I used this to my advantage and building a box in the scene with the correct dimensions, I was able to scale down the reference plane to match my box. From there I was able to use the plans to build the dimensions of the room to correct scale.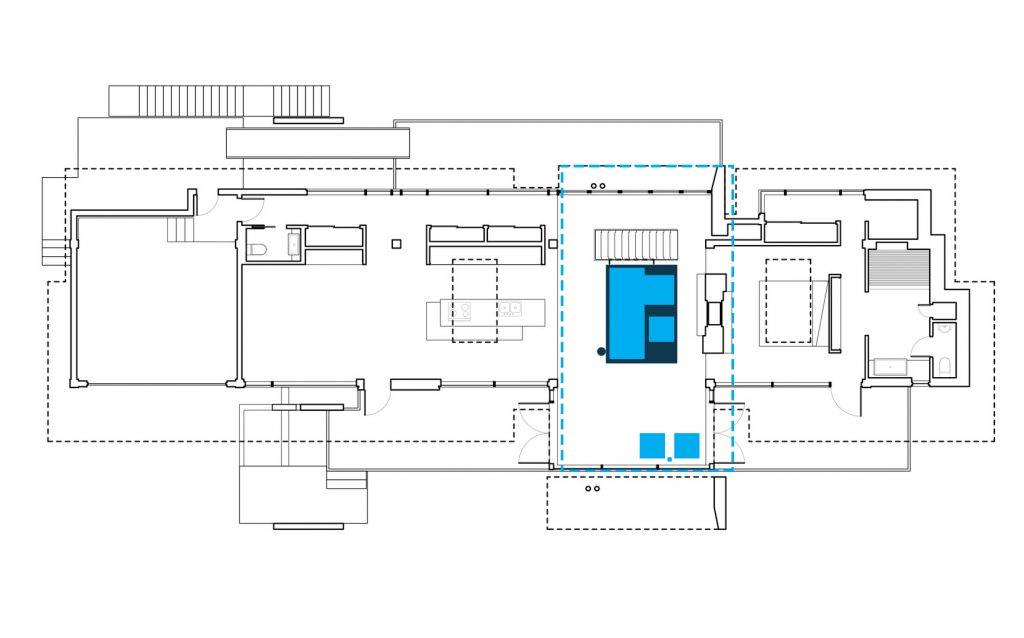
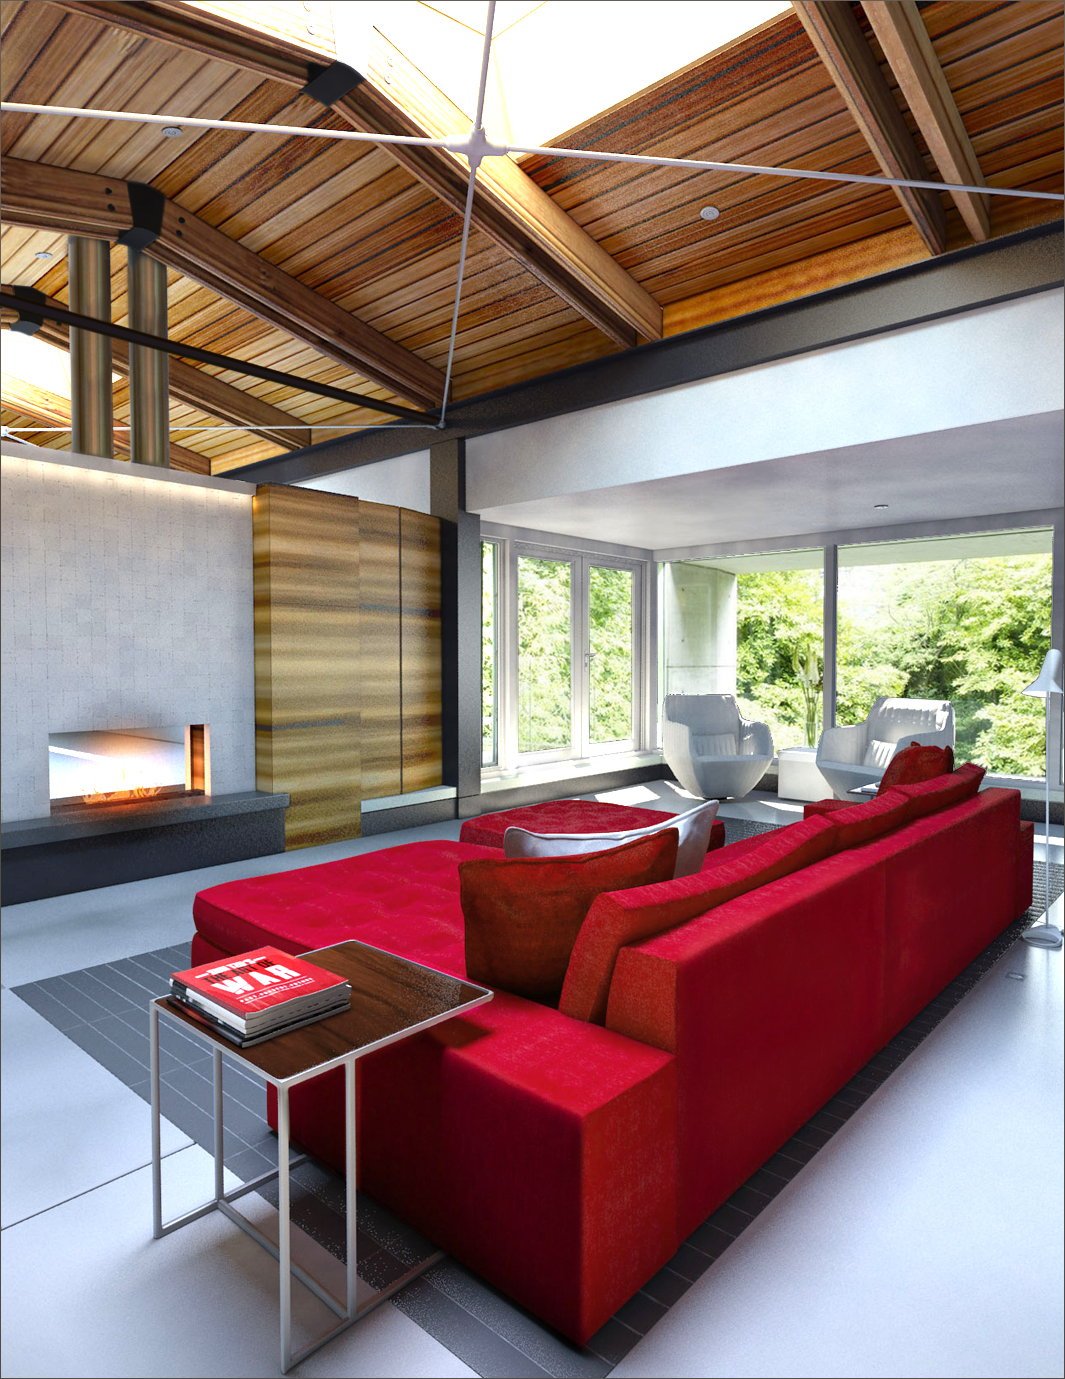
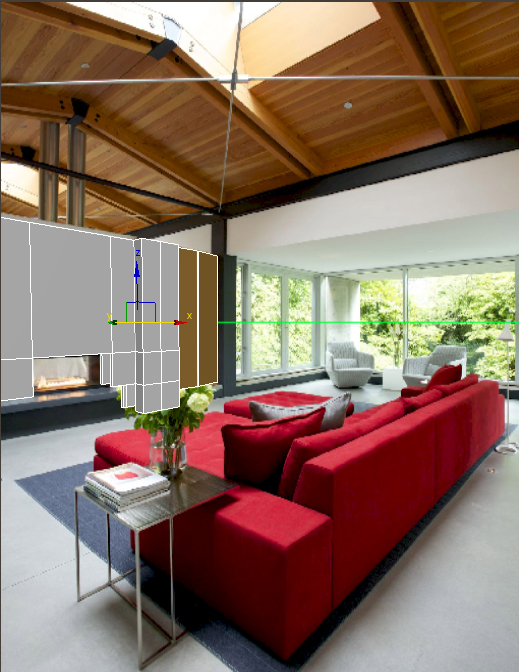
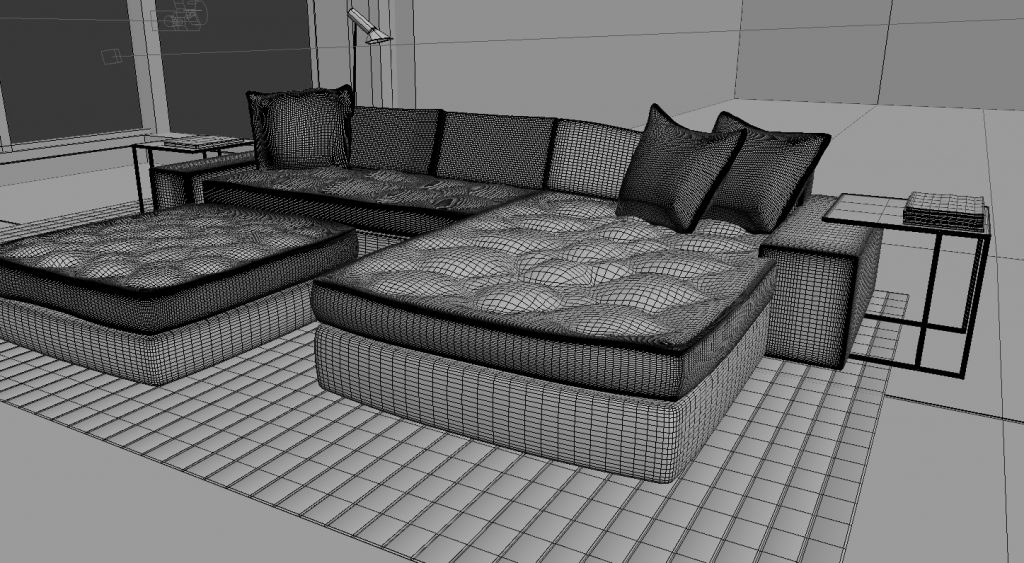
Using the reference photo in the background, I blocked in each model for the scene, and positioned them according to the reference. This helps me keep the scale and proportion of each model in unison with the reference image.
Creating my own horizon line and solving which camera lens and field of view the photographer used, I am able to block out each piece according to scale and proportion to the reference image. Once each piece is blocked out and placed, it was time to model each piece separately.

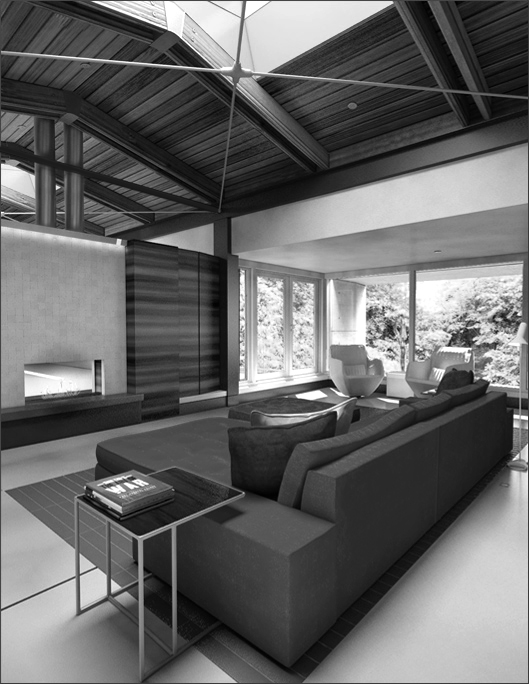
One main component left was to sync the lighting to be flush with the reference image, one way to do this is to turn the images greyscale and use a dropper tool to see if my black and white color values are correct.
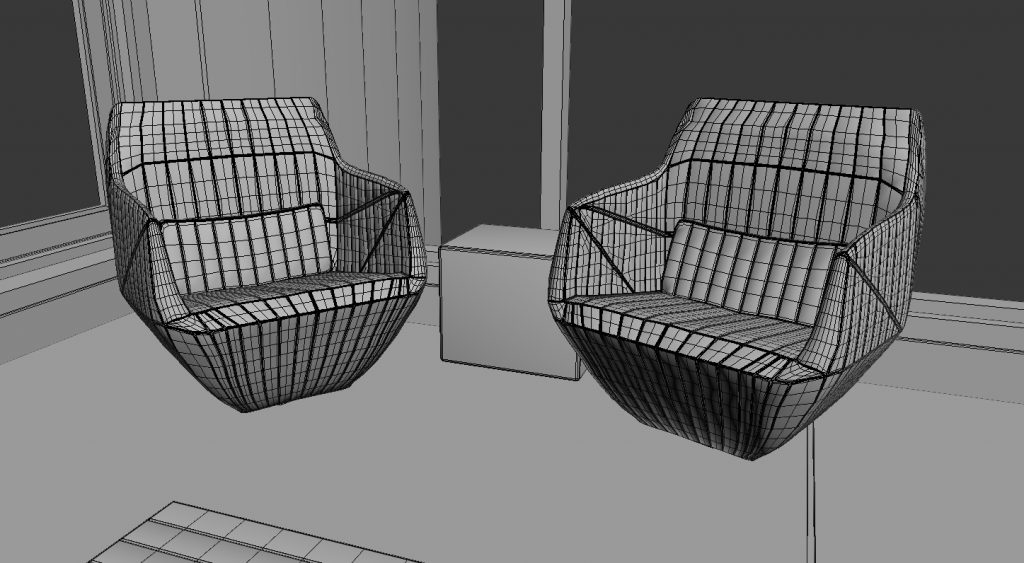
Using sculpting software back and forth between Max, I was able to model the pieces in the scene. Taking polygon real estate into care, I made sure not to have too many edges for smaller objects that are extremely far away in the camera view. Here is each of the main pieces that were the most time consuming to make. The pieces themselves make for great presentations as beauty renders.
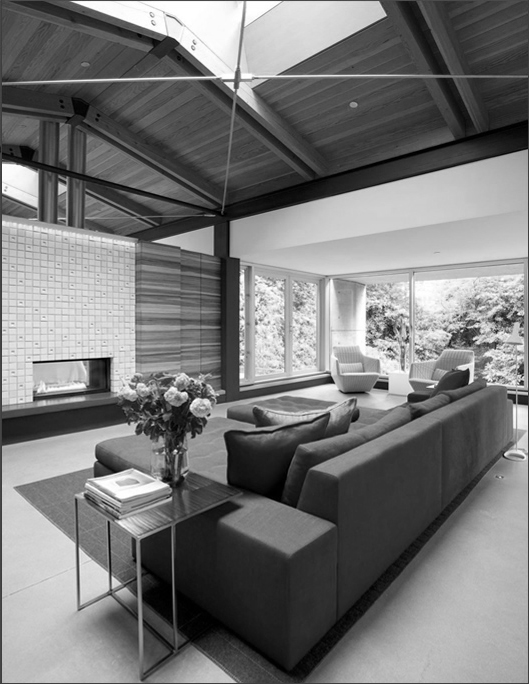
Here is the reference image for the Southlands project.
Dialog